Closing the Structure
Stage III
The floor
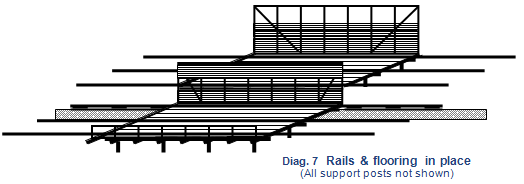
The floor boards are fitted next. Flooring helps to retain heat within the drying chamber, especially important while it is heating up to working temperature.

Its importance includes discouraging mice and insects from entering during the cool of night. Therefore it is recommended that the floorboards be a reasonably good fit.
Stage IV
 The Roof
During construction there will likely be some urgency to shield the floorboards from too much sun and weather. Immediately they are in place the rafters should be nailed on. Maximise the overhang at the bottom end, but allowing at least 100-150mm. overhang along the top. Nail on the top purlin checking for square,. Then space out the others based on the combined length of the roofing sheets (i.e. length when overlapped).
Nail on all but the bottom purlin: this will be added once the pre-heater section is finished, allowing better access there for the next stage.
The purlin ends are trimmed off to overhang the building about 0.6m on both sides.
Cladding the Walls
The side-walls need to be framed in so that the exterior wall-boards can be affixed to them. Positioning of the frame components is determined by the fit of the tray boxes underneath (see Lean-to, Pre-heater, Variations).
Note that the upper ends of the wall-boards should be flush with the top edge of the purlins. This will minimise the air-gap where the walls join to the roofing sheets.
The top ends of the walls can be trimmed off before the roof is finally fastened in place.